Multi screen on a Mac: which app belongs on which display
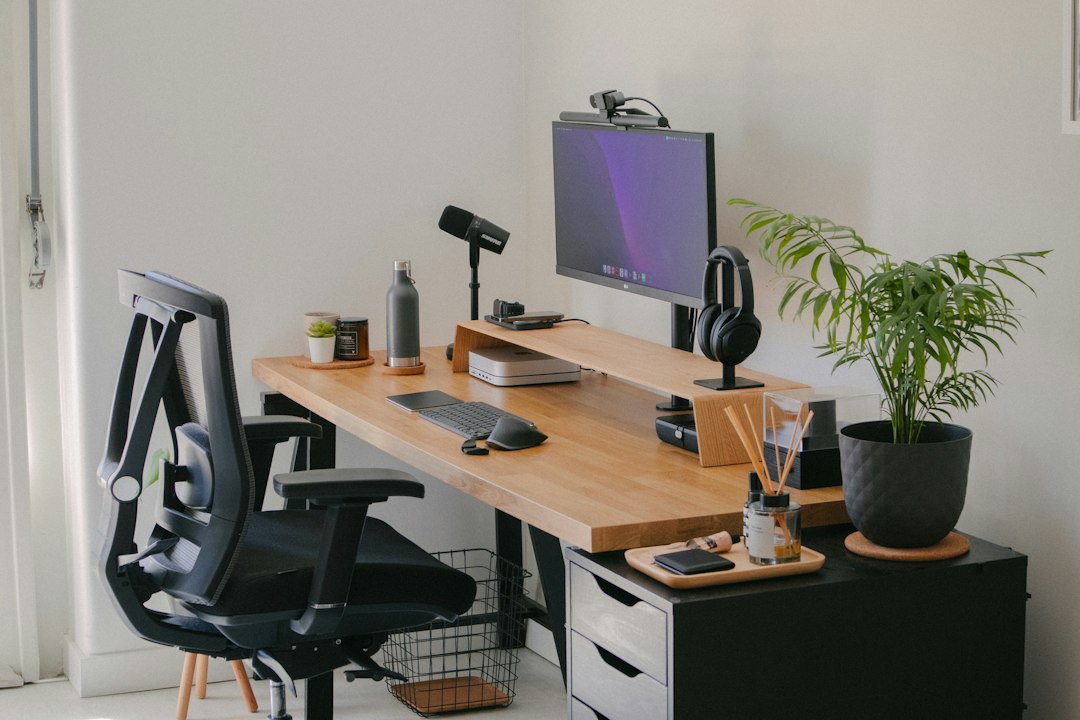
The cables are in, the second monitor lights up, and the desktop is now twice as wide and no more organized than before. Chat opens on whichever screen was last active. The document being edited ends up half on one display and half on the other. Finding the right window still takes a hunt, except the hunt now covers more pixels.
A multi screen Mac setup pays off when every app has a fixed home and you stop deciding where things go. That takes three decisions: how many displays the hardware can drive, whether the desktop is extended or mirrored, and which app is pinned to which screen. The steps below cover all three, and then name the problem a second display does not solve, so the time does not get spent on hardware that was never the bottleneck.
Start with what the hardware can drive
The number of external displays a Mac supports is set by the chip inside it, not by the number of ports on the side. Two Thunderbolt ports do not guarantee two external screens, and on some Macs a single port can carry more than one display.
Apple publishes the figure per model. As of today, the current MacBook Air, built on M5, supports up to two external displays and drives the built in display at full resolution at the same time. The current MacBook Pro splits by chip: M5 supports up to two external displays, M5 Pro up to three, and M5 Max up to four, across any combination of Thunderbolt and HDMI ports.
To read the number for the Mac on the desk rather than the one in a review, open the Apple menu, choose System Settings, click Help in the menu bar, choose the specifications entry for that Mac, then scroll to Display Support or Video Support. That page also states the resolution and refresh rate ceiling per display, which matters because the headline count usually assumes 6K at 60Hz. Ask for 4K at 240Hz and the count can drop.
One more figure belongs in the same check: what the display can receive. A monitor sold as 4K over HDMI 2.0 will not accept 4K at 120Hz no matter which Mac is attached. When a screen stays black, the fastest test is System Settings, then Displays, then hold the Option key so the Night Shift button becomes Detect Displays, and click it. If that finds nothing, unplug and replug the cable, confirm the display has power, and confirm the cable and adapter match the port in use before assuming the Mac is at fault.
Ports are the other half of the same check. Apple groups the video capable ports on a Mac into five kinds: USB-C, the Thunderbolt family that now runs from Thunderbolt 3 through Thunderbolt 5, the older Thunderbolt and Thunderbolt 2 shape, Mini DisplayPort, and HDMI. Some Macs print a small icon beside each port and some do not, so on an unfamiliar machine the specifications page is more reliable than looking at the metal. Where the plug on the monitor cable does not match the port in use, an adapter usually exists, and Apple keeps a separate note listing which adapter covers which combination.
That matters for docks. A dock can add ports without adding display capacity, because the ceiling belongs to the chip. A hub advertised as supporting three monitors will still drive only two from a Mac whose specifications say two. Read the Mac first, then the dock.
Extend or mirror, and why the answer is rarely mirror
Every connected display is set to one of two jobs. Mirroring shows the same desktop on each screen. Extending treats them as one continuous desktop, with one display carrying the Finder and application menu.
You can use video mirroring to show your entire desktop on each display. You can extend your desktop across two or more displays, and choose which display shows the Finder and application menu. Source: support.apple.com
The setting lives in System Settings, then Displays. Click the name of a display, then use the Use as pop up menu. Mirroring earns its place when someone else is watching the same content, such as a presentation on a projector. For daily work it removes the reason the second display was bought, because the pixel count available to windows does not change.
Mixed setups are allowed and often the right answer for three or more screens. Set every display as an extended desktop first, then hold Option and drag one display icon onto another to mirror that pair. A common shape is two extended work screens plus a mirrored screen facing a colleague.
Extending brings one more decision. The display holding the menu bar becomes the reference point for new windows and for most dialogs, so it should be the screen the eyes rest on by default, which for a laptop with one external monitor is usually the external one.
Give each app a fixed home
Once the desktop is extended, the layout question is no longer about pixels. It is about which app should never have to be looked for. Sorting apps by how they are used is faster than sorting them by size.
| How the app is used | Where it belongs | Why |
|---|---|---|
| Always visible reference, such as a spec, a ticket or a dashboard | Secondary display, top half | Read without clicking, never covered |
| Deep work, such as an editor, a design tool or a terminal | Primary display, centered | Occupies the screen with the menu bar and full attention |
| Bursty communication, such as chat or mail | Secondary display, bottom half | Visible at a glance, not in the line of sight |
| Occasional lookups, such as a browser tab for search | Wherever it lands | Not worth a fixed slot |
macOS can make those slots permanent. Control click an app icon in the Dock, choose Options, then choose under Assign To. Four choices are offered: All Desktops, This Desktop, Desktop on Display followed by a number, and None. The third one is the one that matters here, because it pins the app to a screen instead of to a space. Chat assigned to the second display opens there every morning without being dragged.
There is a related setting worth knowing about, because it causes windows to appear where nobody put them. By default, switching to an app moves the desktop to a space that already has windows open for that app. A new document can therefore open on a different screen than the one being looked at. The switch sits in System Settings, then Desktop & Dock, under Mission Control, labelled so that the behaviour can be turned off.
Tiling, Split View and spaces across two screens
With homes assigned, the remaining work is dividing each screen. macOS ships three tools, and they solve different problems.
Tiling arranges windows on the desktop while the menu bar and Dock stay visible. Drag a window to an edge or a corner, or hold Option while dragging, or hover the green button in the window's top left corner and pick a layout. Keyboard shortcuts cover the common cases: Fn-Control-Left Arrow and Fn-Control-Right Arrow for halves, Fn-Control-Shift-Left Arrow to send the active window left and the next window right, Fn-Control-F to fill the desktop, and Fn-Control-R to undo the tile and restore the previous size. Quarters has no shortcut, so the four corner layout comes from the green button or the Window menu.
Split View is stricter. Two apps fill a new desktop space, the menu bar and Dock hide, and everything else leaves the field of view. It is created by hovering the green button and choosing Full Screen, then Left of Screen or Right of Screen. On a multi display setup there is a prerequisite that trips people up: the option named Displays have separate Spaces must be on in Desktop & Dock settings, otherwise Split View works on the built in screen and refuses on the external one.
Spaces are extra desktops, up to 16 of them, moved between with Control and the arrow keys. On two screens they are most useful for work that changes shape during the day, such as a review space and a writing space that each carry a different set of tiled windows, while chat stays pinned to the second display in all of them.
Two habits keep a tiled layout from falling apart. The first is knowing that dragging a window to the top edge of the screen opens Mission Control by default, which sends the window somewhere unexpected when the intent was the top half. That behaviour can be switched off in Desktop & Dock settings. The second is remembering Fn-Control-R, which returns the active window to the size it had before it was tiled, so a layout can be tried and abandoned in one keystroke instead of being rebuilt by hand.
Moving a window between spaces has a shortcut worth the muscle memory as well: drag the window to the edge of the screen and hold it there, and after a moment the desktop slides to the next space with the window in hand. On a two display setup this is how a window crosses from a review space to a writing space without a trip through Mission Control.
The cost a second display does not remove
Adding a screen fixes a location problem. Two costs survive it, and both are worth measuring before buying a third monitor.
The first is account switching. Two work accounts and one personal account in the same web app still live inside one application. Placing that application on its own display does not reduce the clicks needed to move between the accounts, because the switch happens inside the app, not between windows. Command-Tab treats the browser as a single destination no matter how many screens it spans.
The second is notification identity. When ten web apps are open as tabs, a badge tells you something arrived without telling you where. The glance that should cost nothing turns into a scan across two screens. Counting these two events for one working day is the cheapest diagnostic available: if most interruptions are switches and glances rather than searches, more screen area will not help, and the layout is not the thing to change.
Both costs come from the same root. The unit macOS manages is the application, while the unit the work is organized around is the service. A browser that keeps each web app in its own window closes that gap by giving every service its own window, icon and notification identity, which is what makes a badge readable at a distance. The approach is described in Workspaces, and the list of services that open this way is at Supported apps. Since tools in this category differ on price and platform, the side by side breakdown in Compared with Wavebox is a faster read than a feature list.
What to change first
Pin one app to the second display today, using Control click in the Dock and Assign To, and pick the app that gets looked for most often. Then work one week and note whether the remaining friction is searching, switching or glancing. If it is searching, keep assigning apps to displays. If it is switching or glancing, the window layout is not the constraint, and a per app window model such as SpaceDeck addresses that layer instead.
Frequently asked questions
How many external displays can a MacBook Air run?
The current MacBook Air, built on M5, supports up to two external displays and keeps the built in display running at full resolution at the same time. The exact resolution and refresh rate ceiling is listed under Display Support in the specifications page for that Mac, reachable from System Settings by clicking Help in the menu bar.
Why does Split View refuse to work on the external monitor?
Split View on a display other than the main one requires the option named Displays have separate Spaces, in System Settings under Desktop & Dock. With that option off, the same green button steps work on the built in screen and do nothing on the external one. Check also that the display is extended rather than mirrored.
Can an app be forced to always open on the same screen?
Yes. Control click the app icon in the Dock, choose Options, then under Assign To choose Desktop on Display with the number of the screen. The app then opens on that display. The related All Desktops choice makes it appear in every space instead, which suits a window meant to stay visible everywhere.
Is a second monitor or an ultrawide the better buy for many web apps?
Neither changes the number of clicks needed to move between accounts inside one app, so decide by what the day actually costs. If windows are hard to find, more area helps and either shape works. If the time goes into switching accounts and reading badges, the same money is better spent on how the apps are opened, not on how much glass sits on the desk.